Tip
Before setting up the pose detector on a channel, you must configure the analytics server that will analyze video frames.
Read more in Setting up an analytics server for the pose detector.
In order to activate the plugin, open the Software detectors area of the Channel settings. Select Pose detector and then provide the Server which will calculate analytics.
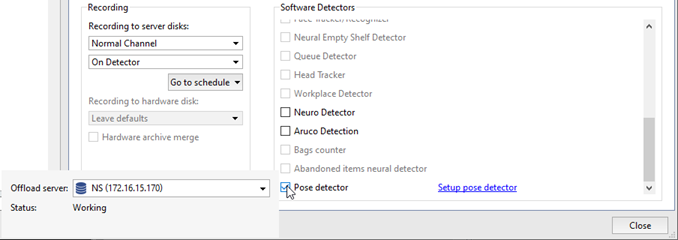
Click the Setup pose detector> link. The settings window will open.
Detector
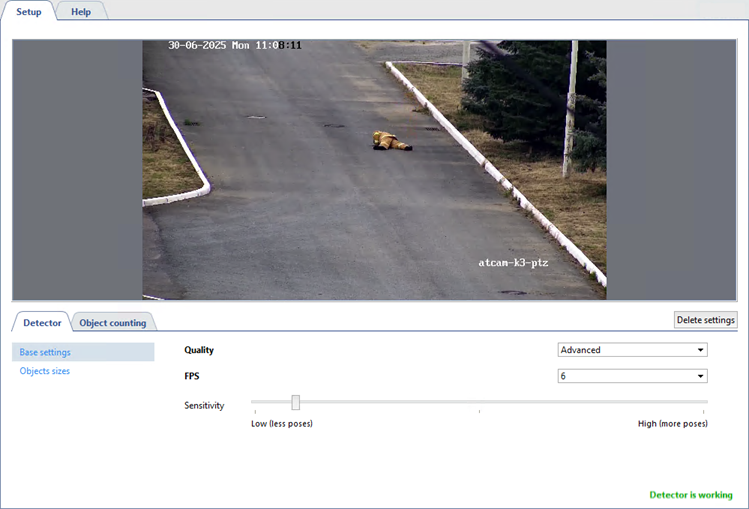
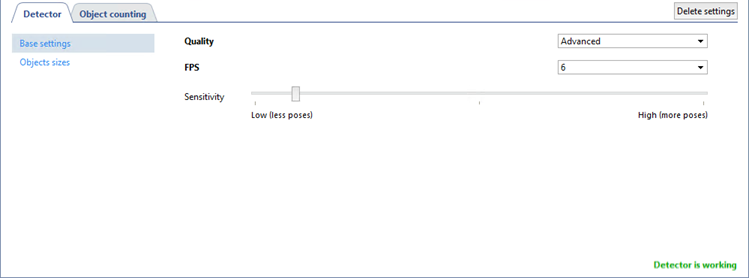
Specify the appropriate settings on the Detector tab.
-
In the detector's Base settings, select the Quality setting. Advanced quality is recommended for complex scenes with numerous moving objects.
Tip
For Advanced, High quality must be enabled in the analytics server settings, for Simple: Low.
Read more about the server analytics configuration in Setting up an analytics server for the pose detector.
The FPS setting selects the number of frames to be analyzed per second. The higher this setting, the lower the rate of false positives and the higher the load on the analytics server. A high frame rate ensures the most accurate matching of the skeletal model with human movement. However, if necessary, you can optimize the server load by reducing this value.
Set up the Sensitivity of the detector. The higher the value is the more sensitive is the detector and there is a greater chance of false positives.
-
The Objects sizes option lets you create zones in which you should select the biggest and the smallest sizes of a detected object with the help of Minimal object size and Maximum object size settings. Objects that are smaller than the minimum and larger than the maximum size will not be detected. When choosing sizes, it is necessary to be guided by the height of a person.

Object counting
Open the Object counting tab to create zones in which people will be searched and their poses analyzed. Outside the detection zones the poses will not be detected. There is already a default zone created in the settings, which occupy the entire image area. You can customize the zone dimensions by changing its points position, if necessary.

To create a new counting zone press  and set its points on the images, starting from the upper right and then in the clockwise direction. In order to finish the
zone drawing, place the mouse cursor to the zone starting point and then left-click or press CTRL+ENTER.
and set its points on the images, starting from the upper right and then in the clockwise direction. In order to finish the
zone drawing, place the mouse cursor to the zone starting point and then left-click or press CTRL+ENTER.
Tip
In order to track changes in the detector's operations enable Pose detector display on channel (read more in Camera window interface settings).
