Important
The number of channels on which the plugin is available is determined by the number of LICENSE_ARUCO licenses on the server.
Available licenses are listed in the server settings on the tab License.
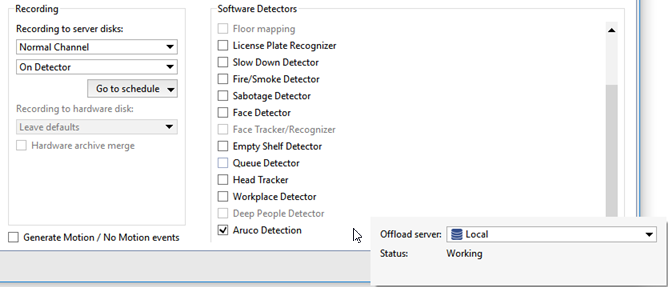
To activate the plugin, go to the Channel settings to the Software detectors area, select ArUco Detection and then select the Server, which will calculate the analytics. Click Setup ArUco detector.
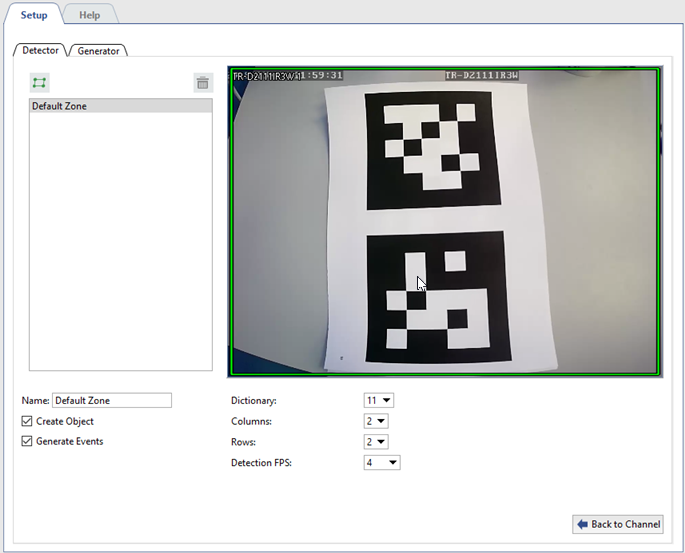
Detector settings window will open:
Tip
Before setting up the detector, determine the type of markers to be detected. In the section ArUco Marker generatortypes of supported markers are described along with their creation procedure.
In case you are aware of the type of markers to be detected, go to the detector settings.
Settings
-
Configure the plugin preset:
-
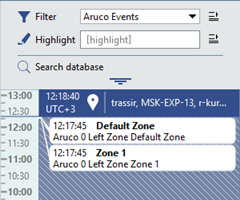
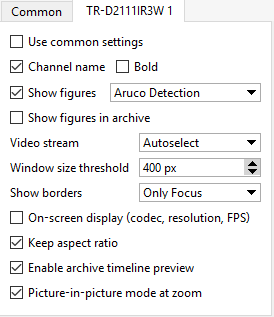
To trace changes in the detector's operation, activate ArUco detection on figures display channel (see section Camera window interface settings).
-
-
General detection parameters.
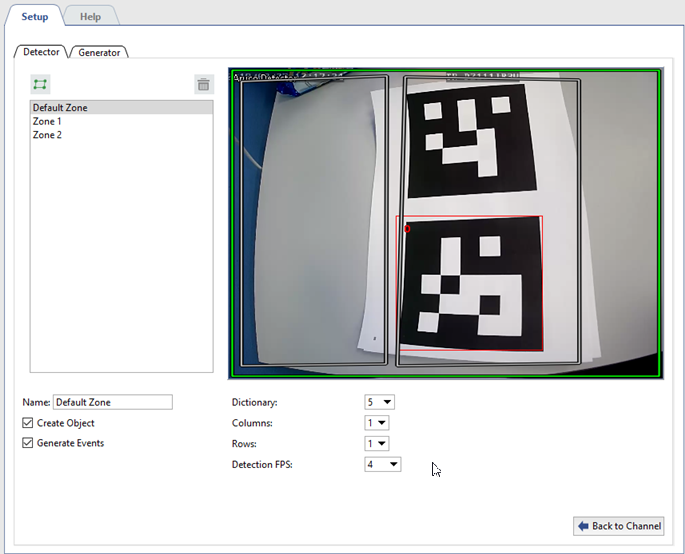
In the Detector tab create one or several areas where markers detection will be done. To do this press the button
 and specify the area borders on the image.
Next, set the detector's operation parameters:
- Dictionary - type of markers to be detected by the detector.
-
Columns and Rows - format of markers or number of segments in the marker by columns and lines.

-
Detection FPS - rate of detection to be selected depending on shooting conditions and speed of movement of the object with the marker being detected.
Detector can detect markers both on static objects and on moving ones. For static objects we advise to set the rate 0.25(1 frame in 4 seconds), and for the objects moving at low speed - 4(4 frames per second).
Tip
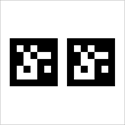
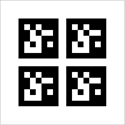
Type and format of markers with which detector will operate is written on the sheet with marker. Markers type and format can also be found out at Generator tab (see section ArUco Marker generator).
Important
Be careful while selecting detection FPS. Do not set maximum value to detect markers on static or slowly moving objects. The higher the frequency is - the higher is the server load.
-
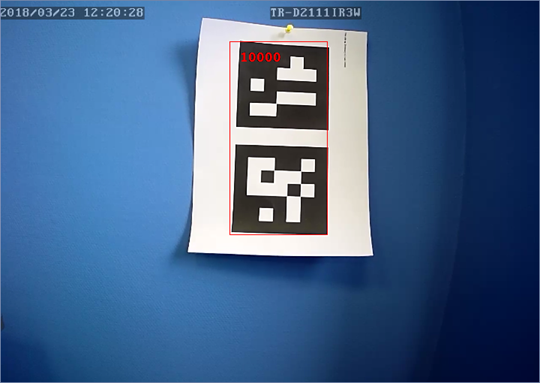
Verify settings correctness.
Put the sheet with the marker to the camera.
If the detector settings are correct, the marker will be highlighted with a red rectangle.
-
Set the detector status tracing parameters.
Detector status change can be traced using scripts and event log.
Check Create object box to create the object and trace change of its status using script or rule.
To display detector status check Generate events box in the log of events.