A Role is a set of permissions and rules which determine user access rights to various TRASSIR Cloud objects.
To enable roles, go to Users and click Activate the Roles System.
The Activation of the Roles System dialog box will open. Check Activate the Roles System and click the Activate button.
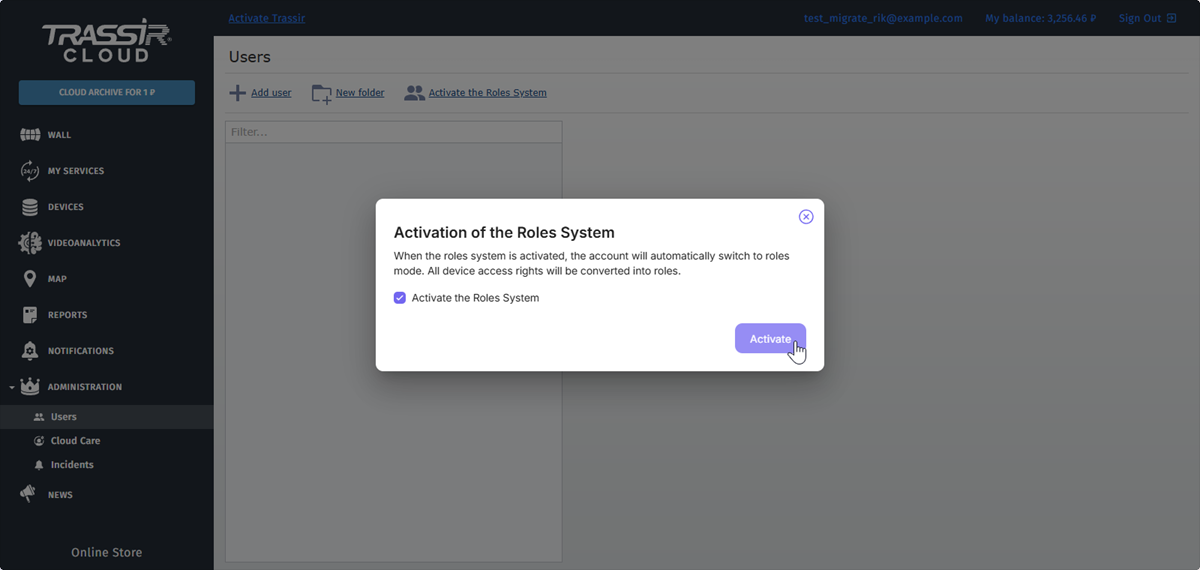
After this, all device access rights will be converted into roles and the Roles section will become available.
Important
Removing the Server Pro Advanced Monitoring service will result in the permanent loss of all roles.
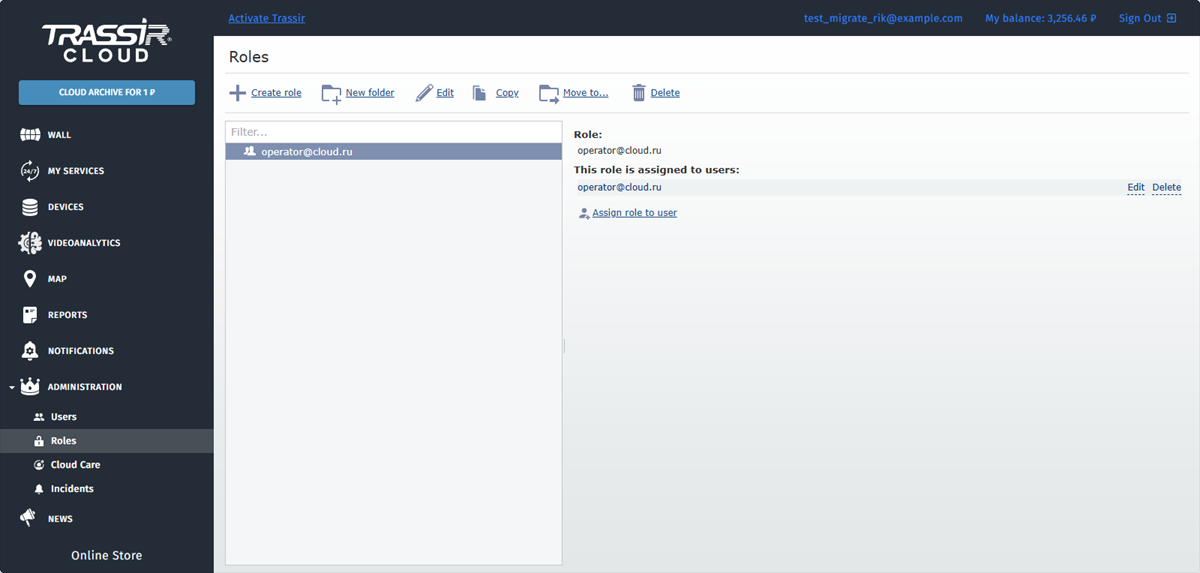
Use the upper menu links to:
- Create role.
- New folder - create a folder and add roles in it.
- Edit - edit role parameters.
- Copy - make a copy of the selected role.
- Move to... - move a folder or a role to another folder.
- Delete - delete role or a folder with the roles. All roles, contained in the removed folder, are moved to the Root folder.
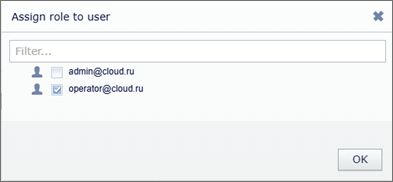
If you've created users you can assign roles to them. To do this, select the role in the list and click Assign to user. Select one or several users in the opened window and press OK to save settings.
Important
Pay attention when assigning multiple roles to a single user. For details see Specific features of assigning multiple roles to a user.
Parameters describing the role

The restrictions and the parameter values in the Interface restrictions settings group determine user rights in operator's interface.
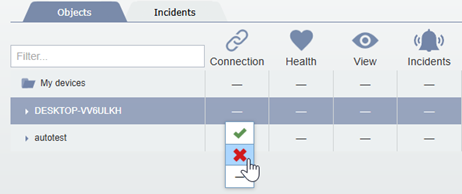
The Objects tab lets you specify user access rights to the objects, connected to Cloud. Here you can determine which option will be enabled or disabled in the role, assigned to the user.
The object access rights system has its own hierarchy, which contains basic (global) objects, groups of objects (several levels) and standalone objects. When the access right to the superior object is changed, it is automatically implemented to all inferior objects.
Click the cell and select one of the following variants to change the access right:
Table 137.
 |
Allow user using this feature while working with the selected object. |
 |
Forbid user using this feature while working with the selected object. |
 |
The access right to the certain feature is not defined. |
Tip
In order to set access right for several objects simultaneously, press SHIFT or CTRL and mark the required lines with the cursor. After that, when changing access rights, the same right will be automatically implemented to all marked lines.
Tip
You can filter the object list to see objects with the specific feature enabled or disabled, by pressing the table headings.

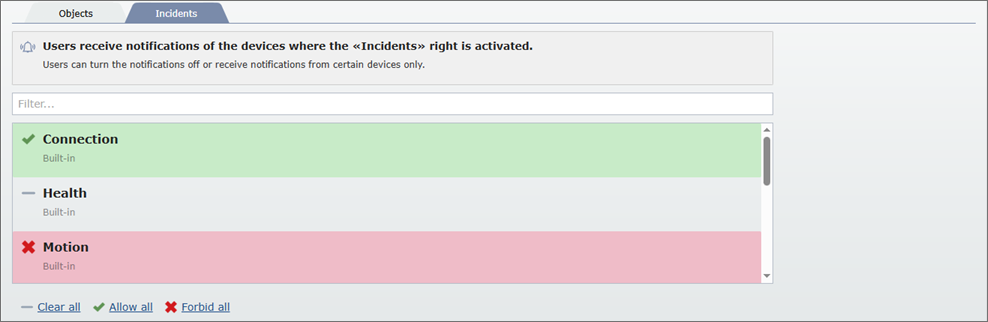
The Incidents tab lets you configure the specific role access rights to the incidents. Users receive notifications about the operation of the devices with the help of the incidents.